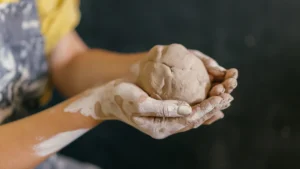

Clay sculpture ideas for stress relief are simple, low-pressure projects, like pinch pots, worry stones, and abstract hand-formed shapes, that use repetitive, tactile motions to calm the nervous system rather than to produce a “perfect” finished piece.
The goal isn’t a gallery-ready object. It’s the feeling of your hands moving through something soft and cool while your brain finally stops sprinting.
Here’s the mechanism, in plain terms: clay is a material that gives you constant, immediate feedback. Press it, and it presses back. Roll it, and you feel exactly how much pressure you used. That kind of sensory feedback loop pulls your attention out of your head and into your hands, which is basically the entire point of a mindfulness practice.
Researchers have started measuring this effect directly:
A 2016 study out of Drexel University had 39 adults spend 45 minutes making art with markers, collage materials, or modeling clay, then tested their saliva for cortisol (the hormone most associated with stress) before and after. Nearly three-quarters of participants showed lower cortisol levels afterward, regardless of prior art experience.
An earlier randomized trial by Kimport and Robbins found something similar: just a few minutes of hands-on clay work measurably reduced negative mood compared to passive activities.
More recent work has gone a step further, tracking hair cortisol (a marker of stress over weeks, not just minutes) in young people with emotional difficulties and finding that regular clay art therapy sessions were linked to a real physiological drop.
In this post, I’m walking through what clay sculpture actually is, why it works as a mindfulness practice, a full list of clay sculpture ideas for beginners, what to look for in a clay sculpture kit, and a step-by-step project you can start tonight with almost no supplies.
What Is Clay Sculpture?
Clay sculpture is the practice of shaping a soft, pliable material, traditionally earth-based clay, but today often air-dry or polymer clay, into a three-dimensional form using your hands and basic tools.
Unlike drawing or painting, there’s no flat surface between you and the material. You’re working in the round, which means you’re constantly turning the piece, checking it from different angles, and adjusting by touch as much as by sight.
That physicality is what separates clay from almost every other mindfulness-art medium. With painting or drawing, most of the “work” happens through your eyes and a tool. With clay, your whole hand is doing the thinking.
Occupational therapists sometimes call this proprioceptive input, meaning your brain gets information about where your body is and how much force it’s using, and that kind of input has a documented calming effect on an overstimulated nervous system.
For this post, “clay sculpture” includes anything you can shape by hand: pinch pots, coil forms, worry stones, tiny abstract figures, and freeform tiles. You don’t need a pottery wheel, a kiln, or any formal training to start.
Why Does Clay Sculpture Reduce Stress?
Clay reduces stress because it forces present-moment attention through touch, offers a low-stakes way to externalize emotion, and produces a physical, undeniable sense of accomplishment, three things that overlap heavily with clinical definitions of mindfulness.
Here’s what’s actually happening when you sit down with a lump of clay:
- You can’t multitask with it. Clay demands both hands and enough attention that scrolling your phone or replaying a stressful email in your head becomes genuinely difficult. That single-tasking is a big part of why art-based mindfulness works at all.
- It gives you permission to be imperfect. A lopsided pinch pot is still a pinch pot. There’s no eraser, no undo button, just the option to smooth it out and keep going, which mirrors the “nonjudgmental awareness” piece of most mindfulness definitions.
- It’s slow by nature. Air-dry clay stays workable for a while, but it’s not instant. That built-in pace pushes back against the “rush through everything” mode a lot of us live in by default.
- The sensory input is grounding. Cool, slightly damp clay against your palms is a strong, specific physical sensation, and strong physical sensations are one of the most reliable ways to interrupt anxious thought spirals.
A 5-week study on college students found that a structured mindfulness-based art therapy protocol using clay led to significantly greater drops in anxiety and perceived stress than simply handling clay with no mindfulness framing.
In other words, clay helps on its own, but clay plus a little intention helps more. That’s basically the philosophy behind every idea on this list.
What Are the Best Clay Sculpture Ideas for Beginners?
The best clay sculpture ideas for beginners avoid precision and detail work entirely and instead lean into repetitive, forgiving shapes, think pinching, coiling, and rolling, rather than sculpting a recognizable figure on the first try.
Here’s the thing: most people’s first instinct is to try sculpting a face or an animal, get frustrated when it doesn’t look right, and quit. Skip that step. Start with shapes that literally cannot fail.
Beginner-friendly starting projects:
- Worry stones. Roll a ball of clay, flatten one side slightly, and press your thumb into the center to make a small indent. Let it dry, then rub your thumb over the indent whenever you need to reset.
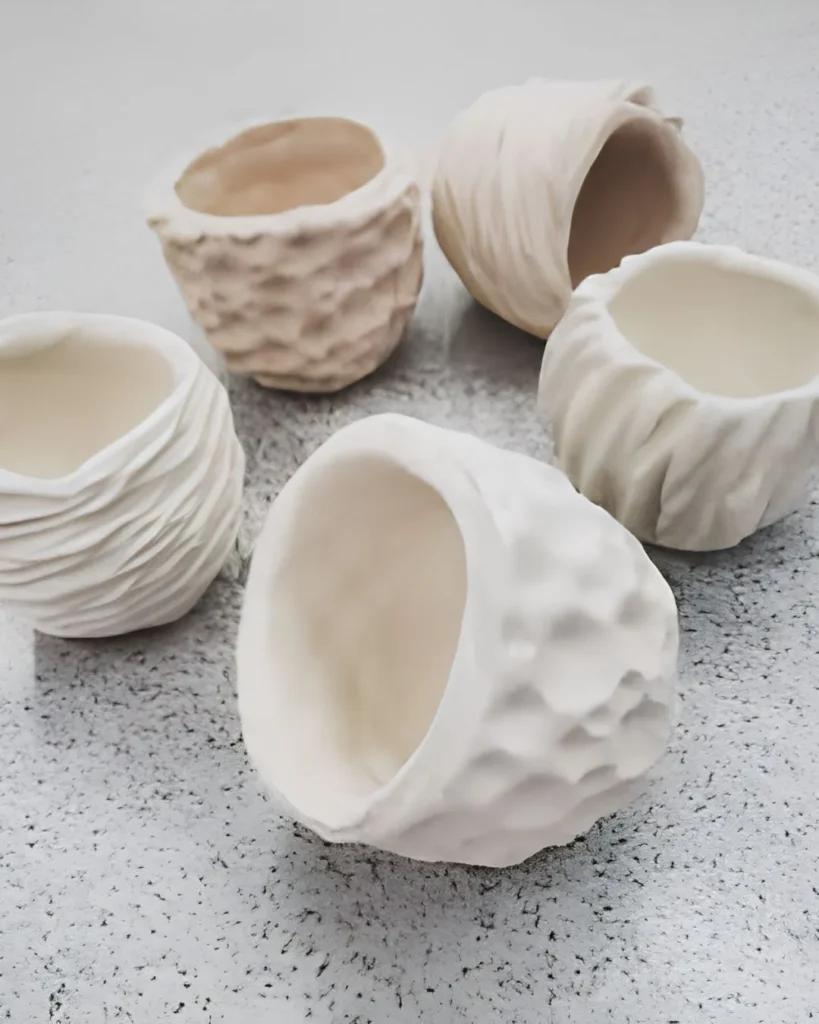
- Pinch pots. Ball up clay, push your thumb into the center, and pinch the walls outward as you rotate it. It’s the single most common starting project for a reason.
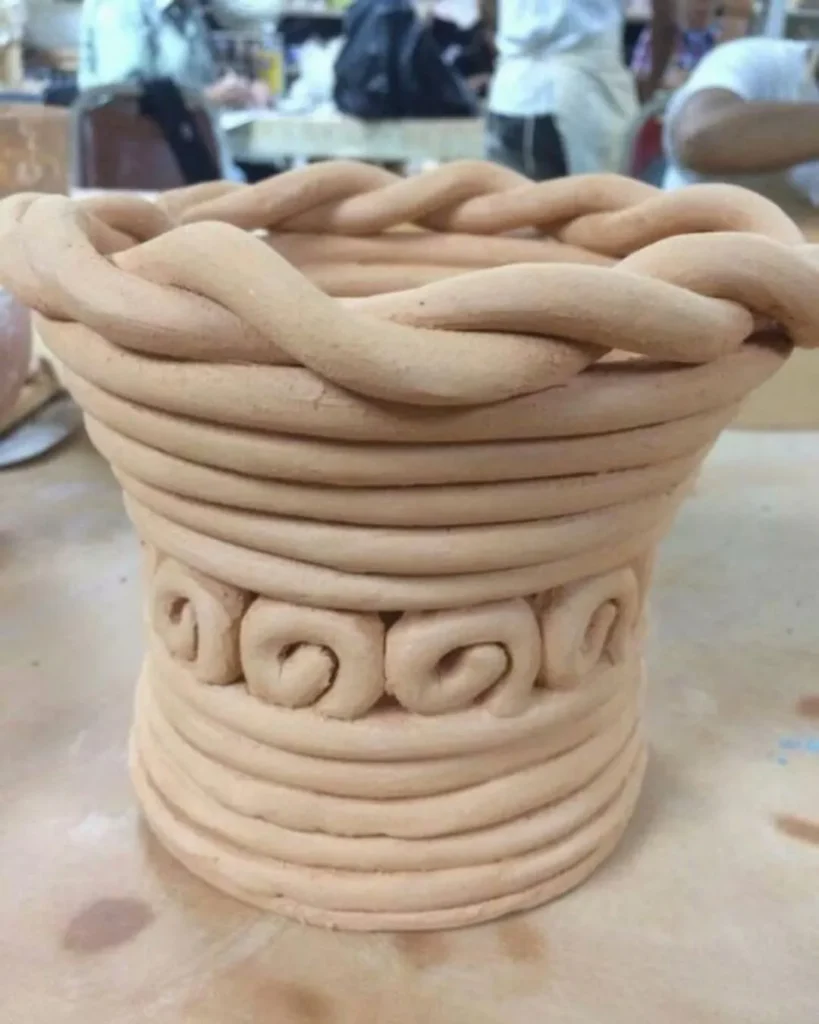
- Coil pots. Roll several “snakes” of clay and stack them in a spiral, smoothing the seams as you go. Deeply repetitive, deeply satisfying.
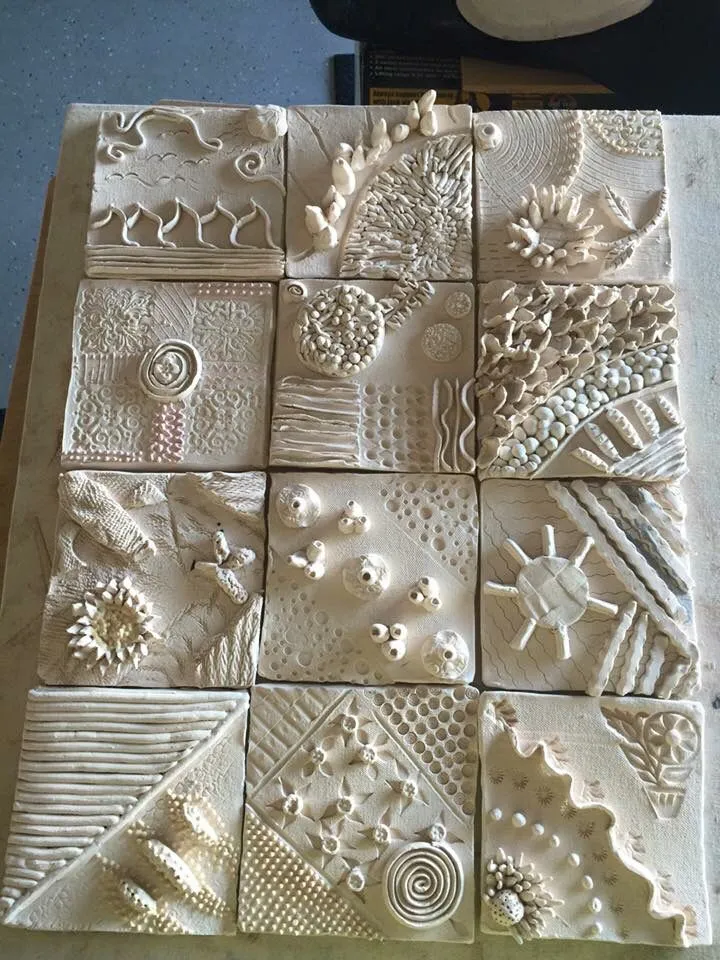
- Texture tiles. Roll clay flat and press found objects into it, leaves, lace, a fork, the bottom of a shoe. Zero skill required, endlessly interesting results.
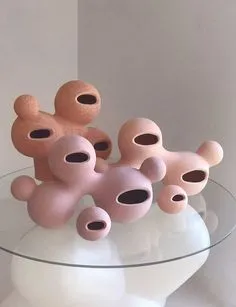
- Abstract blobs. Just squeeze and shape clay with no destination in mind. This is the closest clay equivalent to a doodle, and it’s genuinely one of the most calming options on this list.
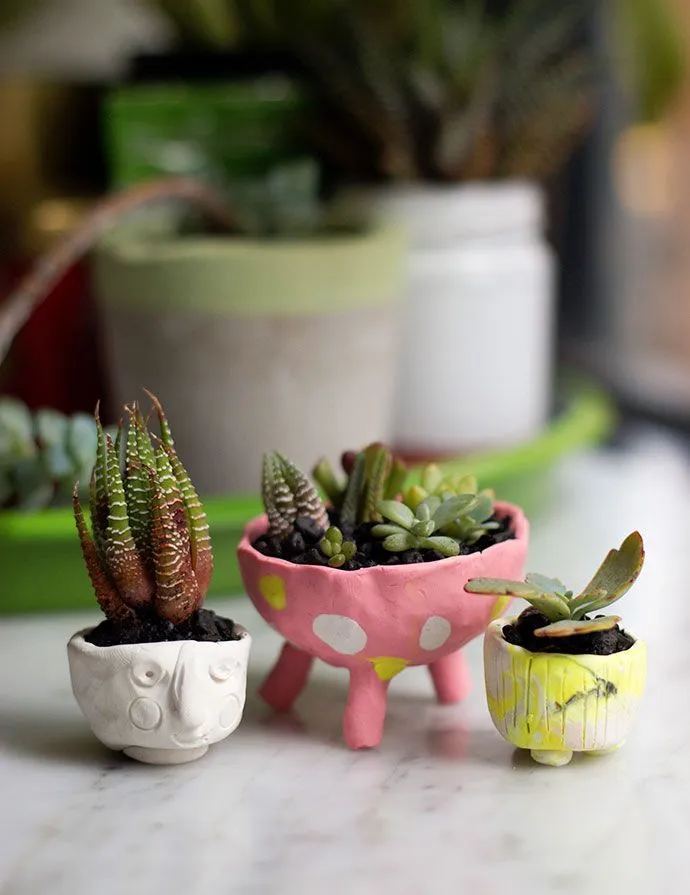
- Mini planters. A slightly bigger pinch pot, sized to hold a small succulent once it dries and is sealed.
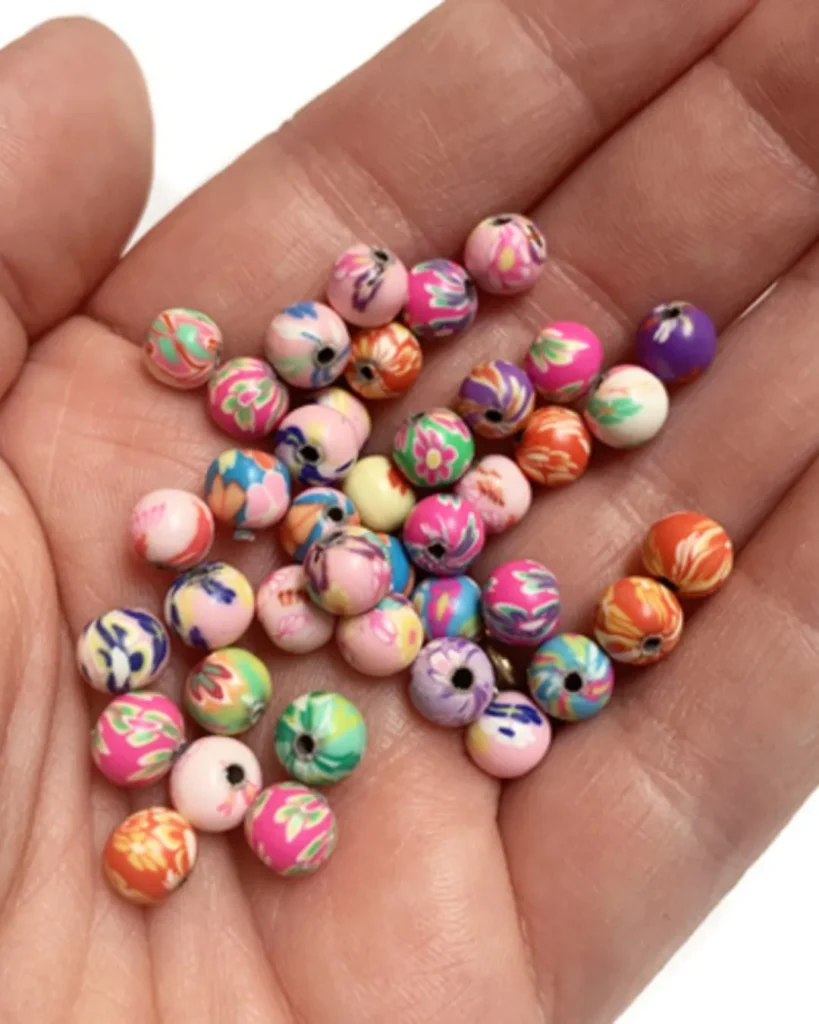
- Clay beads. Roll small balls, poke a hole through with a skewer, and string them once dry. Great for anyone who wants a wearable outcome.
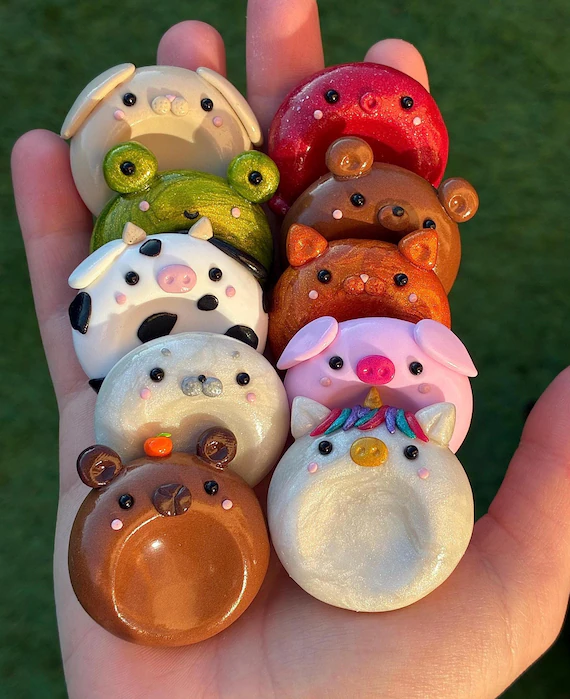
Slightly more involved ideas once you’re comfortable:
- Meditation stones with carved words. Flatten a stone shape and carve a single word, “breathe,” “enough,” “slow”, into the surface with a toothpick.
- Nature-inspired forms. Small mushrooms, pebbles, or leaves are simple enough for a beginner but let you start noticing form and proportion.
- Thumbprint bowls. A step up from a basic pinch pot, built entirely from repeated thumb presses around the rim.
- Clay ornaments. Flatten, cut with a simple shape (a cookie cutter works fine), poke a hole for string, and decorate with a toothpick before it dries.
- Faceless figures. Small humanoid or animal forms without facial detail. This sidesteps the “it has to look right” pressure while still letting you sculpt something representational.
- Herb markers. Flatten small clay tags, write a word in the surface, and stick them in your kitchen herb pots once they’ve dried and been sealed.
- Candle holders. Build a small clay cup around a tea light, leaving the top open. Simple, functional, and genuinely useful once finished.
- Journal covers. Roll a flat slab, cut it to size, and texture it before it dries, then attach it to a journal cover once fully cured.
If none of that sparks anything, it’s fine. Some days the win is just kneading a ball of clay for ten minutes with no plan at all. That still counts.
What Should You Look for in a Clay Sculpture Kit?
A good beginner clay sculpture kit should include a clay type suited to your skill level (air-dry clay for almost all beginners), a few basic shaping tools, a smooth work surface, and a sealant, and it shouldn’t require any equipment you don’t already own.
Before buying anything, it helps to understand the clay types you’ll actually see in a kit. Here’s how the most common options compare:
| Clay Type | Best For | Needs a Kiln or Oven? | Drying Time | Beginner Friendliness |
|---|---|---|---|---|
| Air-dry clay | Beginners, decorative pieces, kids | No | 24–72 hours at room temperature | Very high, most forgiving option |
| Polymer clay | Jewelry, fine detail, figurines | Yes, home oven only | Cures in 15–30 minutes once baked | Moderate, precise but needs planning |
| Stoneware / ceramic clay | Functional pottery, food-safe pieces | Yes, requires a kiln | Weeks (including firing) | Lower for solo beginners, best with studio access |
| Paper clay | Lightweight sculptural work, mixed media | No | 24–48 hours | High, but can be harder to find locally |
For almost every idea on this list, air-dry clay is the right call. It’s inexpensive, doesn’t require an oven or kiln, and its slightly gritty, spongy texture once dry is very forgiving of beginner mistakes.
Polymer clay is worth considering if you’re drawn specifically to beads, small figurines, or jewelry, since it holds fine detail better and doesn’t dry out while you’re working.
A solid starter kit generally includes:
- A block or two of air-dry clay (a few pounds is plenty to start)
- A basic wooden or plastic sculpting tool set
- A silicone mat or wax paper to protect your work surface
- A small cup of water for smoothing seams
- A clear acrylic sealant for once your piece has fully dried
You genuinely don’t need much more than that. A rolling pin from your kitchen and a butter knife will get you through most of the ideas above.
How Do You Make a Simple Clay Pinch Pot?
Here’s a full walkthrough of the most classic beginner project, the pinch pot, which uses nothing but your hands and takes about 15 to 20 minutes.
- Warm up the clay. Knead a ball roughly the size of your fist for a minute or two. This isn’t just prep, it’s also the first stretch of mindful, repetitive motion, so don’t rush it.
- Round it out. Roll the clay between your palms until it’s a smooth, even sphere with no cracks.
- Make the opening. Hold the ball in one hand and press your opposite thumb straight down into the center, stopping about a half inch from the bottom.
- Start pinching. Using your thumb on the inside and fingers on the outside, gently pinch the walls, rotating the pot a little after every pinch. Keep the walls roughly even in thickness as you go.
- Even out the rim. Once the walls are thin and the shape feels right, smooth the top edge with a damp finger.
- Add texture, or don’t. This is the point where you could press a pattern into the outside, carve a word, or leave it completely plain. Either is correct.
- Let it dry. Set it somewhere flat and undisturbed for 24 to 72 hours, depending on wall thickness.
- Seal it, if you want it to last. Once fully dry, a coat or two of acrylic sealant will protect the surface and give it a slight sheen.
That’s it. No wheel, no kiln, no prior experience required.
What Common Mistakes Do Beginners Make With Clay Sculpture?
The most common beginner mistakes are working the clay too thin, letting it dry unevenly, and treating the process like a performance instead of a practice.
- Walls that are too thin. Thin clay is more likely to crack while drying. Aim for at least a quarter inch of thickness on anything you’re building by hand.
- Skipping the water. A little water helps smooth seams and prevents cracking, but too much makes the clay slick and hard to shape. A damp fingertip is usually enough.
- Drying too fast. Setting a piece near a heat vent or in direct sun can cause the outside to dry before the inside, leading to cracks. Room temperature, out of direct sunlight, is the safest bet.
- Judging the piece against Pinterest. This is the big one. The entire value of clay sculpture as a stress-relief practice comes from the process, not the outcome. A wobbly, lopsided pinch pot that helped you decompress for twenty minutes did its job.
Bringing It Back to the Present Moment
Clay sculpture works as a mindfulness practice for the same reason washing dishes slowly or walking without your phone can work: it’s not about the object you end up with; it’s about where your attention goes while you’re making it.
A lopsided pinch pot isn’t a failed project. It’s twenty minutes where your hands were busy enough that your mind had somewhere quieter to be.
Start small. Pick one idea from the list; worry stones are the easiest possible entry point. Grab some air-dry clay, and give yourself permission to make something that doesn’t need to be good.
If clay isn’t quite your medium, it’s worth exploring The Complete Guide to Art for Mindfulness for a full breakdown of other tactile and flow-based practices.
References
- Kaimal, G., Ray, K., & Muniz, J. (2016). Reduction of cortisol levels and participants’ responses following art making. Art Therapy, 33(2). Drexel University.
- Kimport, E. R., & Robbins, S. J. (2012). Efficacy of creative clay work for reducing negative mood: A randomized controlled trial. Art Therapy, 29(2), 74–79.
- Nan, J. K. M., et al. (2023). Effects of clay art therapy on emotion regulation and hair cortisol concentration for youth with emotional problems.
- Mindfulness-based art therapy pilot study comparing clay-based MBAT to a neutral clay task in college students, measuring anxiety, perceived stress, and salivary cortisol.
Frequently Asked Questions
Is clay sculpting good for anxiety?
Yes. Clay work combines repetitive motion, tactile sensory input, and single-tasking, all of which are associated with reduced anxiety in art therapy research, including studies specifically measuring cortisol before and after clay-based sessions.
Do I need to know how to sculpt to start?
No. Most of the ideas in this post, pinch pots, worry stones, coil forms, texture tiles, require no prior sculpting skill. They’re built from a small handful of repeatable motions rather than technical training.
What’s the easiest type of clay for a beginner?
Air-dry clay. It doesn’t require a kiln or oven, it’s inexpensive, and it stays workable long enough to learn on without the added complexity of baking or firing schedules.
How long does it take for clay sculpture to dry?
Air-dry clay typically takes 24 to 72 hours depending on the thickness of the piece. Thinner pieces, like flat tiles, dry faster. Thicker forms, like a coil pot, need more time.
Can I paint or seal my clay sculpture once it’s done?
Yes, once it’s fully dry (not just dry to the touch, but dry all the way through). Acrylic paint works well on air-dry clay, and a clear acrylic sealant afterward helps protect the surface and reduce dust.
Is clay sculpture more relaxing than other mindful art techniques?
It depends on your sensory preferences. If you’re drawn to tactile, hands-on experiences, clay often feels more grounding than drawing-based practices like neurographic art or Zentangle, since it engages your whole hand rather than just a fine-liner. Some people find more calm in flow-based mediums like watercolor. There’s no wrong answer here, just different mindful mechanisms.
Can kids do these clay sculpture ideas too?
Most of them, yes. Air-dry clay is non-toxic and doesn’t require heat, which makes it a reasonable option for supervised kids’ projects. Simpler ideas, like worry stones and texture tiles, tend to work well across age groups.
What if my sculpture cracks while it’s drying?
Small cracks are common and usually cosmetic. You can often smooth a crack with a bit of water and fresh clay while the piece is still slightly damp. Once it’s fully dry, cracks are harder to fix, so it’s worth checking on your piece periodically during the drying window.
Do I need a pottery studio or special equipment?
No. Every idea in this post is designed to be done at a kitchen table with air-dry clay, basic tools, and a work surface you don’t mind getting a little messy.